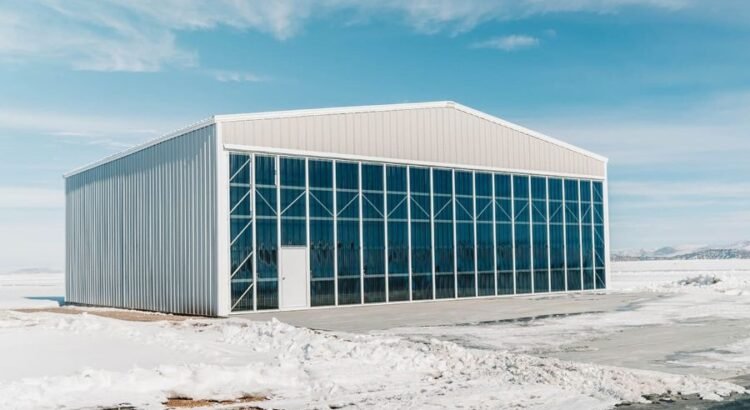
Photo – A 60 by 54 foot steel aircraft hangar with 19 foot eave height and transparent wall panels, built for Radost Hangar LLC in Evanston, Wyoming. Photo credit: MBMI Metal Buildings –
By Bill Strompf, Vice President, MBMI Metal Buildings –
Most private hangar projects start with a single measurement: the wingspan of the airplane sitting on the ramp today. It is the right place to start and the wrong place to stop. A hangar is a building an owner will live with for decades, and in that time the airplane inside it may change more than once. The owners who end up happiest with their hangars are the ones who planned the span, the height and the door around the aircraft they expect to fly next, not only the one they fly now.
MBMI has designed and supplied custom steel buildings since 2002, including an aircraft hangar with transparent panels in Evanston, Wyoming, and the same handful of decisions come up on almost every hangar project. Here is how I would walk an owner through them.
Start with the wingspan, then add room to work
The clear span of the building, the width between the frames with no interior columns, has to cover the wingspan with room to spare. A good rule is roughly 4 to 8 feet of tip room on each side. That space is not wasted. It is what makes it possible to bring the airplane in without holding your breath every time, and it leaves room to walk around the wingtips with a tool cart or a ladder.
To put numbers on it, a Cessna 172 has a 36 foot wingspan. With tip room on each side, it fits comfortably in a 50 foot clear span. A rigid frame steel building gives that kind of span without posts in the middle of the floor, which is exactly what an aircraft owner wants.
Check the height, and remember the door
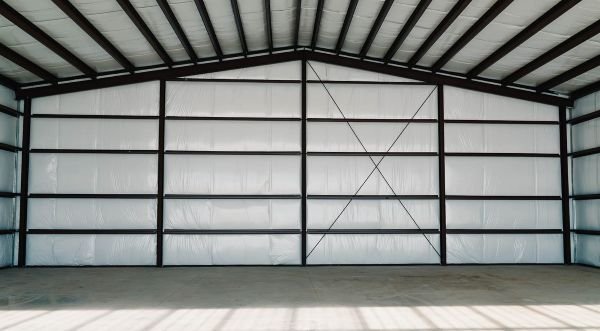
Height is the measurement owners most often underestimate. Standard practice adds 3 to 5 feet of overhead clearance above the tail height of the aircraft. That margin is there so nobody has to inch a tail under a roof beam.
The door opening has to clear the tail as well. On a hangar, the door is not an accessory. It sets the usable opening of the whole building, and the frame has to be engineered around it.
Choose the door before the building is engineered
There are three common door types for general aviation hangars, and each one has its place.
Bi-fold doors are the most common choice for general aviation hangars 40 to 100 feet wide.
Hydraulic doors open faster than the alternatives. They cost more up front.
Sliding doors are the lowest cost option. The tradeoff is more maintenance on the track over the life of the building.
The right answer depends on how often the airplane goes in and out, what the site allows and the budget. What matters most is choosing early. The door is part of the end wall and the framing around the opening, so it needs to be settled before the drawings are finished, not added later.
Plan for the next airplane
If I could give every hangar owner one piece of advice, it would be this: size the span, the height and the door for the aircraft you expect to own next, not just the one you fly today. An owner flying a light single now may be in a larger airplane in a few years. Adding a few feet of span or height at the design stage costs far less than replacing a door later or living with a hangar that no longer fits. If a step up is anywhere on the horizon, design for it now. Leave room as well for everything that collects in a hangar over the years: a workbench, a tug, a tool chest, maybe a small office or a second airplane someday.
Engineer it for where it will stand
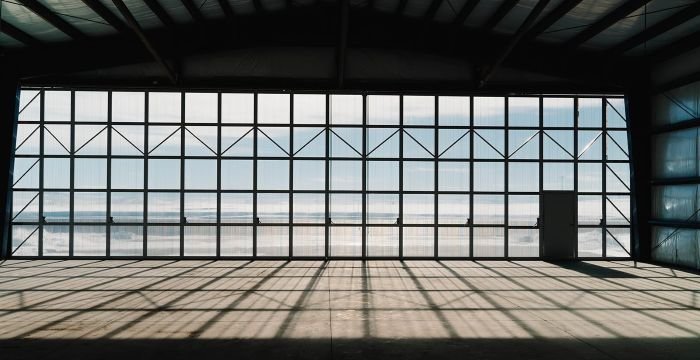
A steel hangar has to be engineered for the wind, snow and seismic loads of its actual location. A building that is fine in one state can be undersized in another. When comparing suppliers, ask who engineers the building and to what wind, snow and seismic loads for the site’s ZIP code. A low price often means less is included, or lighter design assumptions were used.
Two other items belong on the list before ordering. First, confirm fire requirements with the local fire marshal. Second, plan ventilation and a vapor barrier from the start. When humid air inside the building meets steel panels that have cooled to the outdoor temperature, moisture condenses and drips, and no owner wants that landing on a wing or an open cowling. A vapor barrier on the warm side of the insulation, sealed seams and penetrations, and ventilation sized to the building go a long way toward keeping the inside dry. Where moisture runs high, add dehumidification and aim to keep relative humidity below 60 percent. A simple humidity gauge on the wall will tell you whether you are getting there.
Know what the price includes
Instant online prices for steel buildings commonly leave out engineered drawings, permits, the concrete foundation and delivery. Owners should also budget for erection, interior work, electrical and any plumbing. When comparing quotes, put them on the same scope first. Then compare the engineering, the fabrication standard, the written warranty, the service and the supplier’s track record with buildings of that size and use.
Read the warranty in writing, too. Paint, weather tightness and roof panel coverage are separate warranties with separate terms, and details matter: on our buildings, for example, fasteners that are not lifetime fasteners will void the warranty. Ask what is covered, for how long and what voids it.
It also helps to know who does what. At MBMI we design, engineer and supply the building, made to order. The owner arranges a local concrete contractor for the foundation and an erection crew to put it up, and we supply an engineered anchor bolt plan so the foundation pour matches the frame.
Sequence the work so nothing waits
A hangar project goes smoothest when the steps overlap. Fabrication starts once the drawings are approved. Permitting should run alongside fabrication, and it is often the least predictable part of the schedule, so it pays to start early with a complete application and a site-specific foundation plan. For residential and agricultural buildings, a correctly submitted application typically takes 2 to 4 weeks, and commercial projects average 4 to 8 weeks. Starting 8 to 12 weeks before approval is needed is a good habit. An incomplete application resets the clock. Generic foundation plans rarely satisfy reviewers, and the foundation inspection usually happens before the concrete is placed, so plan for it. The foundation should be poured while the steel is being fabricated, not after it arrives. One of the most common and costly mistakes we see is steel showing up before the site is ready to accept it.
The bottom line
A private hangar is a long-term home for an expensive machine. Start with the wingspan and add tip room. Check the height and make sure the door clears the tail. Choose the door before the frame is engineered. Build for the airplane you will own next. Have the building engineered for its location, confirm fire requirements with the fire marshal, and plan for condensation before the panels go up. Get those decisions right at the start, and the hangar will serve the airplane you fly today and the one you move up to tomorrow.

About the author
Bill Strompf is Vice President of MBMI Metal Buildings, which designs, engineers and supplies custom pre-engineered steel buildings across the United States, and has been with the company since its founding in 2002.